The correct installation of large exhaust fans requires following the process of "preliminary preparation → main body installation → wiring debugging → safety inspection". The core is to ensure stability, sealing, and electrical safety, and avoid vibration, air leakage, or electric shock risks during operation.
1、 Before installation: Make 3 core preparations
Preparation work directly affects installation efficiency and safety, and must be implemented in advance.
Confirm the installation environment and dimensions. Measure the length, width, and height of the installation opening to ensure it matches the size of the exhaust fan; At the same time, check the load-bearing capacity of the walls/frames around the opening to avoid installation on fragile or unstable structures.
Check equipment and tools. Open the box and check if the main body, bracket, screws, sealing rings, and other accessories of the exhaust fan are complete; Prepare tools such as electric drills, level gauges, wrenches, insulation tape, etc. If high-altitude operations are involved, it is necessary to build a stable scaffold or platform in advance.
Power outage and safety protection. The installation area needs to disconnect the main power supply in advance, and the operators must wear safety helmets and anti slip gloves. When working at heights, they must fasten their safety belts and have a dedicated person on the ground to supervise.
2、 During installation: Perform 4 key operations
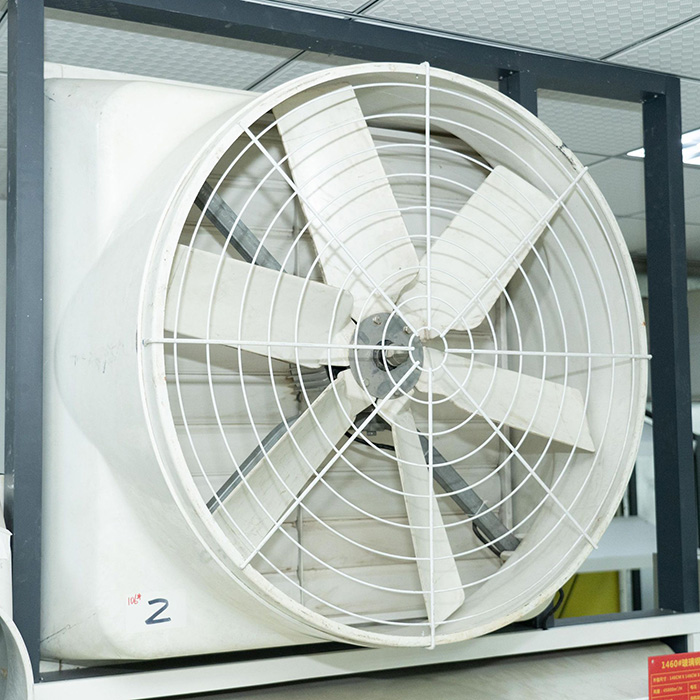
The installation of the main body should pay attention to stability and sealing, and each step should be operated accurately.
Fixed installation frame/bracket. Place the built-in installation frame or customized bracket of the exhaust fan into the hole, calibrate it with a level to ensure that the frame is horizontal and vertical without tilting; Use expansion screws to fix the frame to the wall or steel structure, and tighten all screws to prevent loosening during operation.
Install the exhaust fan body. Lift the exhaust fan to the installation frame, slowly insert and align the screw holes, and fix the main body to the frame with bolts; If the weight of the exhaust fan is large, a crane or multiple people should cooperate to transport it to avoid equipment collision or personnel injury.
Ensure proper sealing treatment. Fill the gaps between the exhaust fan and the frame, as well as between the frame and the wall, with fireproof sealant or install sealing gaskets to prevent air leakage (affecting exhaust efficiency) or rainwater and dust infiltration into the room during operation.
Standardize electrical wiring. Wiring shall be carried out by a certified electrician, strictly following the circuit diagram in the exhaust fan manual, distinguishing between live, neutral, and ground wires, ensuring that the wiring is firm and not exposed; The ground wire must be reliably connected to avoid the risk of electric shock. After the wiring is completed, wrap the interface with insulating tape.
3、 After installation: Complete 2 debugging and inspections
After installation, debugging and inspection are required to ensure that the equipment can operate safely and normally.
Power on debugging. Before connecting the power, check again if the wiring is correct; After powering on, perform a jog test run to observe whether the exhaust fan rotates correctly (consistent with the instructions), runs smoothly, and whether there are any abnormal noises or vibrations; If there is a problem, power off immediately for troubleshooting.
Safety and performance checks. Check if all fixing screws are loose and if there is any air leakage at the sealing point; Test whether the start stop function and wind speed adjustment function (if any) of the exhaust fan are normal; At the same time, clean up the tools and debris on the installation site to avoid affecting equipment operation or causing safety hazards.


